
Blog
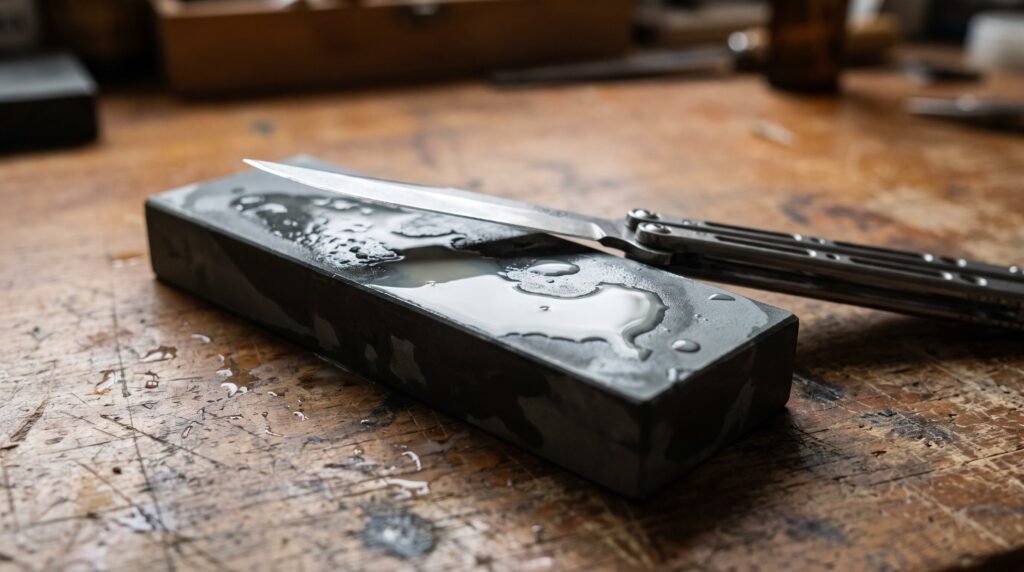
To sharpen a butterfly knife, open the balisong fully, tape or latch both handles together so they cannot swing, then work the edge on a whetstone at a consistent 15–20 degree angle per side. Start with a medium stone (around 1000 grit), raise a burr along the full edge, refine it on a fine stone (3000–6000 grit), and finish on a leather strop. The whole process takes 15–30 minutes, and a well-maintained balisong only needs it a few times a year.
That is the short version. Below is the full method we recommend for the handmade Filipino balisongs we build in the Batangas tradition, including the safety step most guides skip, notes for Damascus steel, and why a trainer should never touch a stone.
Before You Start: Balisong-Specific Safety
Sharpening a butterfly knife differs from sharpening a fixed blade for one reason: the handles move, and a knife that shifts or folds mid-stroke can put your fingers on the edge. Handle that risk first.
- Tape the handles together in the open position. Open the knife fully, then wrap two or three turns of masking tape or painter’s tape around both handles so the knife behaves like a fixed blade. If your balisong has a latch that locks it open, engage it as well, but tape anyway. Tape is cheap; fingers are not.
- Know your bite handle. On a live balisong, the bite handle is the one that closes over the sharp edge. Keep track of it while you work: a freshly sharpened edge will bite harder than the one you are used to.
- Work on a stable surface. Set your stone on a non-slip base or a damp towel at a comfortable height, never on your lap.
- Keep fingers behind the edge. Apply pressure with fingertips resting on the flat of the blade, never wrapped near the edge line.
Safety and legal note: sharpening tools and balisongs are not toys. Butterfly knife laws vary widely by state, county, and city. Always check your local laws before buying, carrying, or transporting one.
What You’ll Need
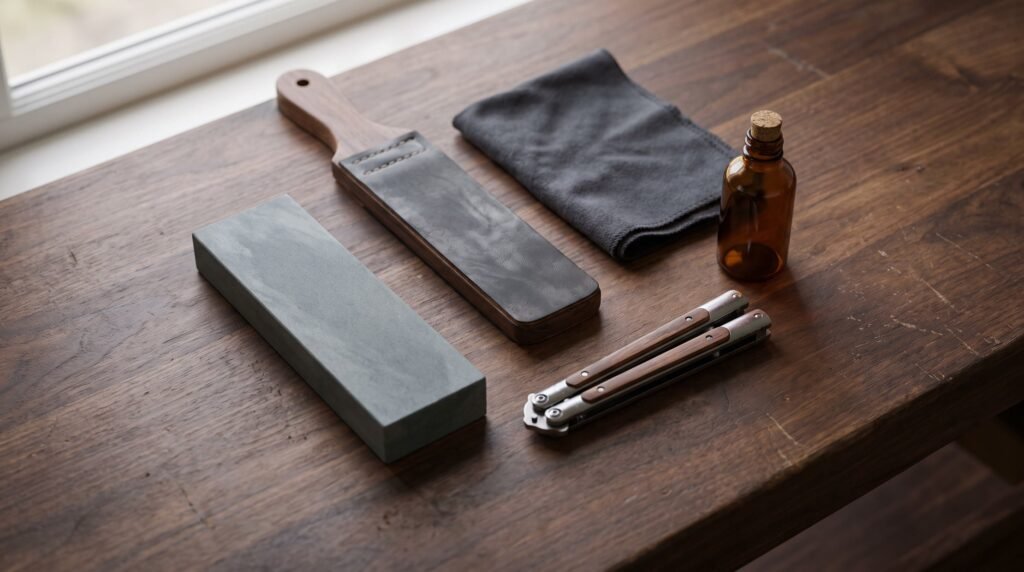
- A whetstone with two grits: a combination 1000/3000 or 1000/6000 stone covers almost every sharpening session.
- A coarse stone (220–400 grit), only if the edge is chipped, rolled, or truly dull.
- A leather strop with a fine polishing compound.
- Masking tape for the handles (and optionally for the blade spine on Damascus, more on that below).
- Water or honing oil, depending on your stone type.
- A marker (optional) to color the edge bevel so you can see exactly where the stone is cutting.
You do not need powered grinders or expensive systems. Traditional Batangas smiths have kept balisong edges shaving-sharp with simple stones for over a century. If you are curious about that lineage, our page on the history of the balisong covers it.
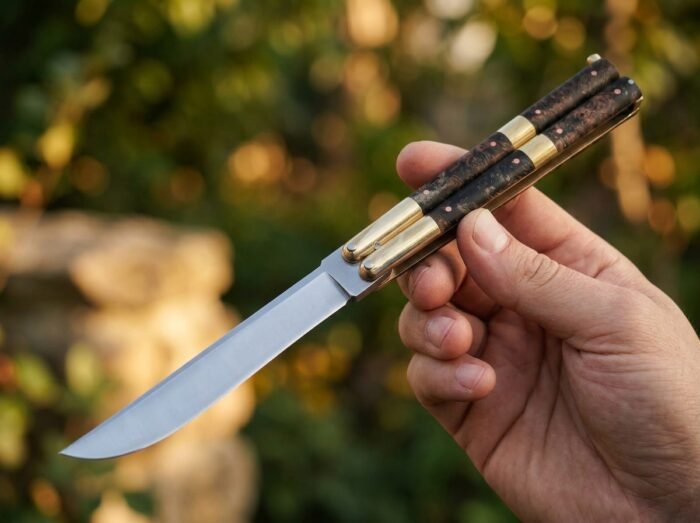
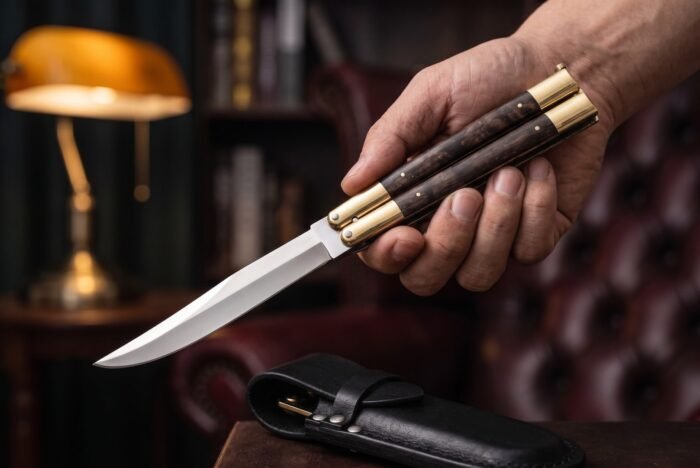
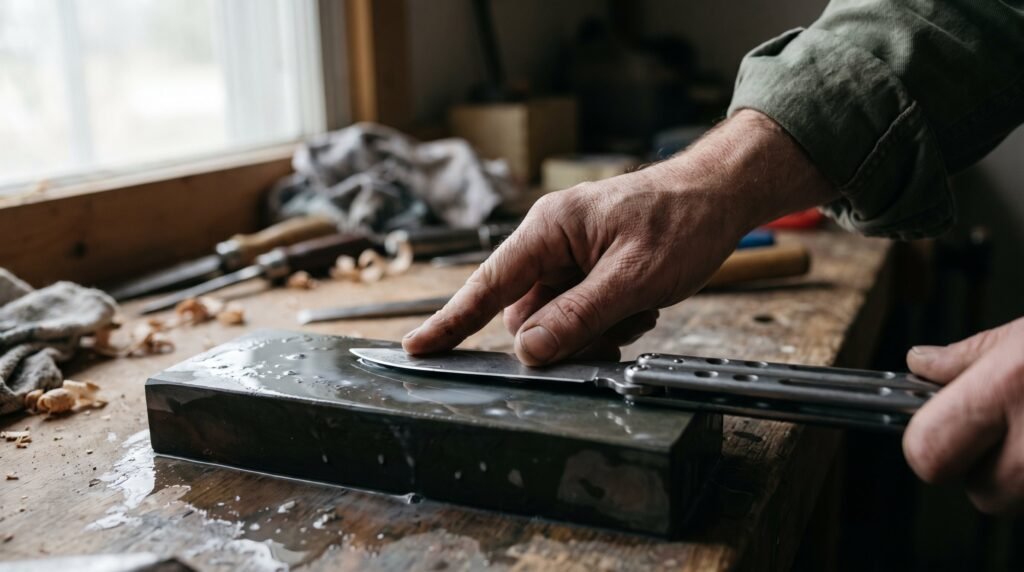
How to Sharpen a Butterfly Knife: Step by Step
Step 1: Tape the handles and inspect the edge
Open the balisong, latch it if you can, and tape both handles together. Then look down the edge under good light. A sharp edge is invisible; dull or damaged spots reflect light as tiny bright specks. This tells you where to focus and which grit to start with. Light dullness means you can start at 1000 grit. Visible flat spots or chips mean starting coarse (220–400 grit).
Step 2: Prepare your stone
Soak a water stone for 5–10 minutes until bubbles stop rising, or apply a thin layer of honing oil to an oil stone. Place the stone on its non-slip base with the coarser side up.
Step 3: Set your angle, 15 to 20 degrees per side
Most handmade balisongs perform best between 15 and 20 degrees per side. Closer to 15 degrees gives a keener edge for clean slicing; closer to 20 degrees gives a tougher edge that stands up to harder use. If you are unsure, match the existing bevel: color it with a marker, take one light pass, and adjust your angle until the ink is removed evenly across the bevel.
Step 4: Raise a burr on the first side
With light, even pressure, push the edge across the stone as if slicing a thin layer off the surface, sweeping from heel to tip so the whole edge makes contact. Repeat on the same side until you feel a burr: a fine wire of steel. Curl over onto the opposite side of the edge. Check by dragging a fingertip down and away from the edge, never along it. The burr must run the edge’s full length before you switch sides.
Step 5: Repeat on the second side, then alternate
Flip the knife and repeat until the burr flips to the first side. Then alternate single, lighter strokes per side to reduce the burr until it is barely detectable.
Step 6: Move to the fine grit
Switch to the 3000–6000 grit side and repeat the same alternating strokes with progressively lighter pressure. You are now polishing the edge rather than removing steel. Ten to fifteen light strokes per side is usually plenty.
Step 7: Strop to finish
Load your leather strop with compound and draw the blade spine-first (the opposite direction from the stone) at the same 15–20 degree angle, 10–20 strokes per side. Stropping removes the last traces of the burr and aligns the edge. This single step is the difference between “sharp” and “scary sharp,” and between sessions it can postpone your next full sharpening by months.
Step 8: Test, clean, and oil
Test the edge by slicing printer paper: a properly sharpened balisong glides through with no tearing. Then wipe the blade clean of stone slurry, dry it completely, and apply a light coat of knife oil to the blade and a small drop to each pivot. Our full balisong knife care guide covers cleaning, oiling, and rust prevention in detail.
Sharpening a Damascus Steel Balisong
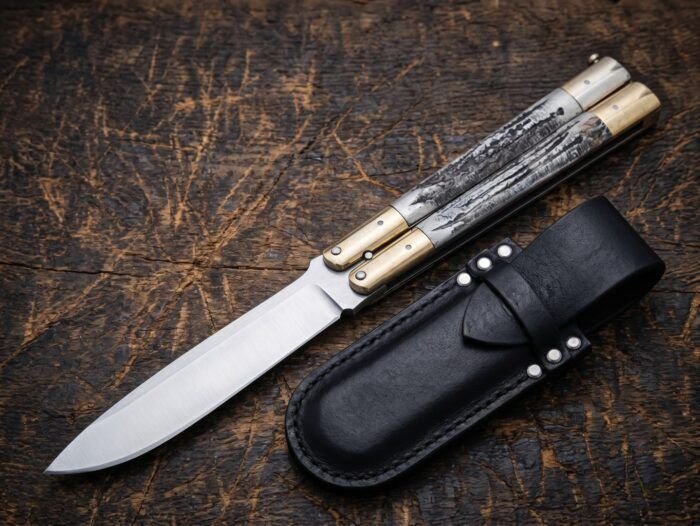
Damascus steel sharpens the same way. Same angle, same grit progression, but the layered pattern deserves extra care. Keep your angle strictly on the edge bevel so the stone never scrubs the patterned flats, and consider a strip of masking tape along the blade flat as insurance against stray scratches. After sharpening, dry the blade thoroughly and oil it promptly: the high-carbon layers in hand-forged Damascus will spot if left wet. Pieces like those in our handmade Damascus steel balisong collection. For example the BF-129 Filipino Traditional Series Damascus tanto. Are forged and ground by hand, so each edge has slight individual character. Follow the existing bevel rather than forcing a factory-uniform angle onto it.
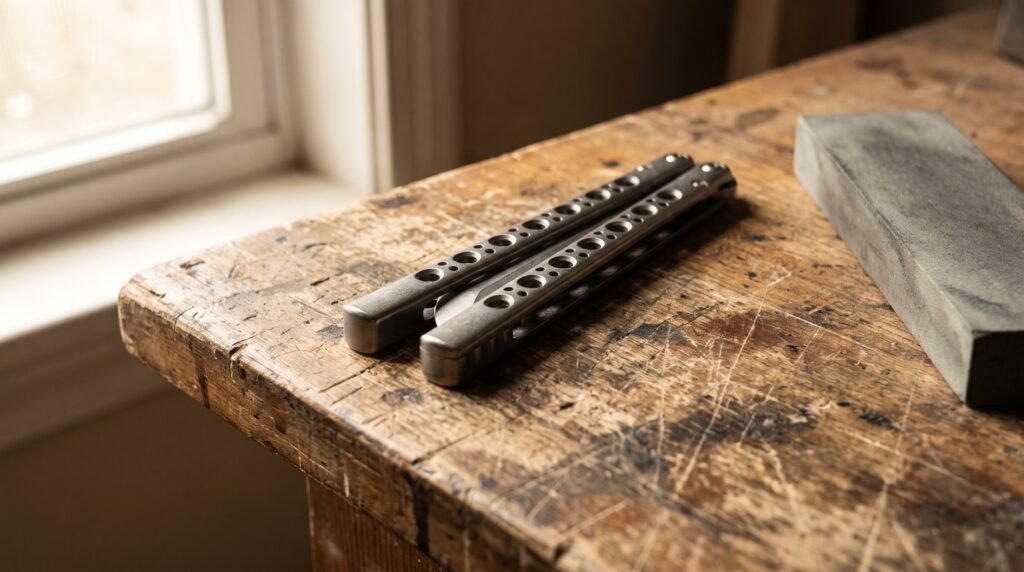
Never Sharpen a Balisong Trainer
A trainer exists for one reason: it cannot cut you while you learn to flip. Putting a trainer to a stone defeats its purpose and, in many places, can change how the item is treated under local law. If you want to practice flipping, keep the trainer blunt forever. If you want a working blade, keep a separate live balisong for cutting tasks, and sharpen only that one. We build live blades in the Batangas tradition; you can browse the full range in our balisong shop, including authentic Filipino balisongs made the way Batangueño smiths have made them for generations.
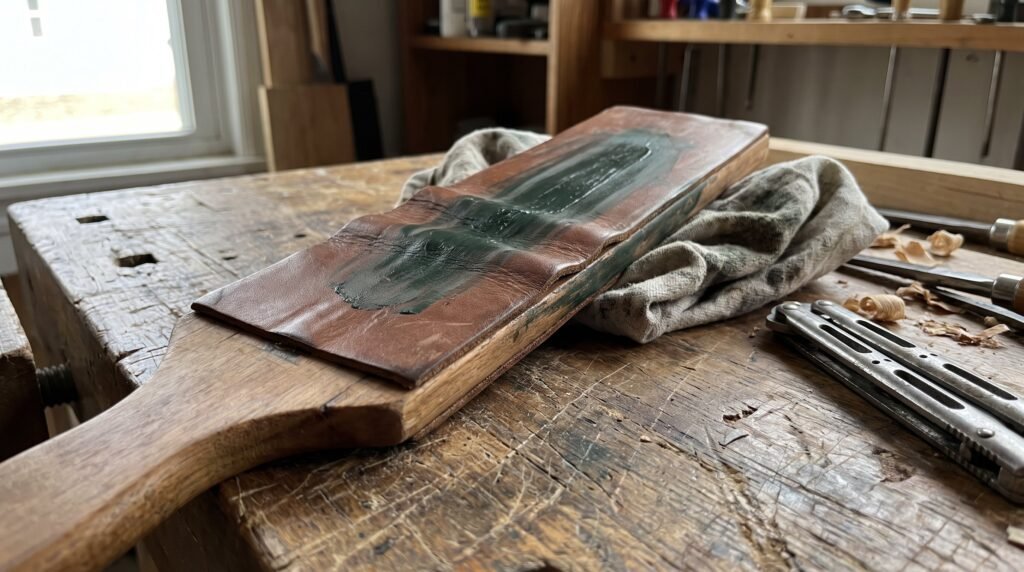
Balisong Sharpening and Maintenance Schedule
A handmade balisong is a lifetime tool if you stay ahead of the edge instead of chasing it. Here is a simple schedule that works for most owners:
| Task | How often | Notes |
|---|---|---|
| Wipe blade dry and clean | After every use | Especially after cutting anything acidic or after handling in humid weather |
| Strop (no stone) | Every 2–4 weeks with regular use | Keeps the edge aligned and delays full sharpening |
| Oil blade and pivots | Monthly | A light knife oil; one small drop per pivot |
| Full whetstone sharpening | Every 3–6 months with regular cutting use | Sooner if paper-slicing test fails; collectors who rarely cut may need it once a year or less |
| Deep clean and inspection | Twice a year | Check pivots, pins, and latch; see our knife care guide |
Common Sharpening Mistakes to Avoid
- Sharpening with free-swinging handles. The number one balisong-specific error. Tape first, every time.
- Pull-through sharpeners. Carbide pull-through tools tear steel away at a fixed angle that rarely matches a hand-ground bevel, shortening a handmade blade’s life for no benefit.
- Rocking the angle. A wobbling wrist rounds the edge. Lock your wrist and move from the shoulders.
- Too much pressure. Pressure creates heat and deep scratches; let the abrasive do the work, especially on fine grits.
- Skipping the strop. An unstropped edge still carries burr remnants and dulls quickly.
- Leaving the blade wet. Stone slurry is water plus abraded steel: a recipe for corrosion spots if not wiped off, particularly on high-carbon and Damascus blades.
Frequently Asked Questions
What angle should I sharpen a butterfly knife at?
15 to 20 degrees per side suits nearly all balisongs. Use the lower end for a keener slicing edge and the higher end for extra durability. When in doubt, match the blade’s existing bevel using the marker trick described above.
Can you sharpen a butterfly knife trainer?
No. Trainers are deliberately blunt so you can practice flipping safely, and grinding an edge onto one removes that safety entirely. It may also change the item’s legal status where you live. Always check local laws.
How often should I sharpen my balisong?
With regular cutting use, a full whetstone sharpening every 3–6 months is typical, with a quick strop every few weeks in between. A display or collection piece that rarely cuts may only need attention once a year.
Do Damascus steel balisongs need special sharpening?
The technique is identical, but be more careful of the patterned flats. Tape them if needed, and oil the blade promptly afterward, since the high-carbon layers in hand-forged Damascus are more prone to spotting than stainless steel.
Can I use an electric or pull-through sharpener on a balisong?
We advise against it for handmade blades. Powered and pull-through sharpeners remove steel quickly at fixed angles that seldom match a hand-ground bevel, and they generate heat that can affect the temper. A whetstone and strop give better results with far less risk.
Should I take the balisong apart to sharpen it?
No disassembly is needed. Taping the handles in the open position gives you full, safe access to the edge. Taking a handmade balisong apart risks disturbing hand-fitted pivots and pins. A gritty or loose action is a cleaning and oiling job, not a reason to disassemble; our shop Q&A covers the details, or simply write to us.
Disclaimer: This guide is for general information. Work slowly, keep fingers away from the edge, and store blades away from children. Laws on owning and carrying butterfly knives differ by state and municipality. Verify your local laws before purchasing or transporting a balisong.